
How to Use Cloudflare R2 with Laravel File Storage
Your guide to cost-efficient, high-performance object storage for Laravel apps. Laravel offers a powerful filesystem abstraction using Flysystem, a file storage library for PHP by Frank de Jonge. Flysystem provides one interface to interact with many filesystems, including Amazon Web Services (AWS) S3-compatible object storage. There are multiple S3 API compatible object storage in the market today - starting with Amazon S3, Digital Ocean Spaces, Linode Object Storage, Cloudflare R2 among others.
When deciding which S3 object storage service to use, several factors comes into play. These factors include project requirements, available features, location, and cost. For most users, including myself, the decision often comes down to the cost. I mostly choose Cloudflare R2 as my preferred option due to its affordability and zero egress fee.
(Of course I use other providers as well!)
Let me show you how can start using Cloudflare R2 object storage in your Laravel project.
Why Cloudflare R2 for Laravel?
When building Laravel applications, you often rely on file storage—avatars, documents, logs, media, backups. Through Laravel’s filesystem abstraction (powered by Flysystem), you can switch between local storage, Amazon S3, and other S3-compatible object stores.
Here’s why you should strongly consider Cloudflare R2:
- Zero egress fees – unlike many S3-compatible services, Cloudflare R2 doesn’t charge for data egress in many scenarios.
- Cost efficiency – even for moderate storage and bandwidth, R2’s pricing model can be significantly cheaper.
- S3-compatible API – seamless integration with Laravel’s
filesystem.phpand Flysystem’s S3 driver. - Global presence & Cloudflare network – benefit from Cloudflare’s CDN, caching, and edge network when appropriate.
In short: if you want to reduce costs and keep compatibility, Cloudflare R2 is an excellent choice.
Prerequisites
Before you begin, make sure you have:
- A working Laravel project (Laravel 10.x or higher recommended for this tutorial).
- Familiarity with Laravel’s Filesystem (
Storage::disk()etc.). - A Cloudflare account ready (or willingness to create one).
- Basic understanding of environment variables and config files in Laravel.
Step 1: Create your R2 bucket
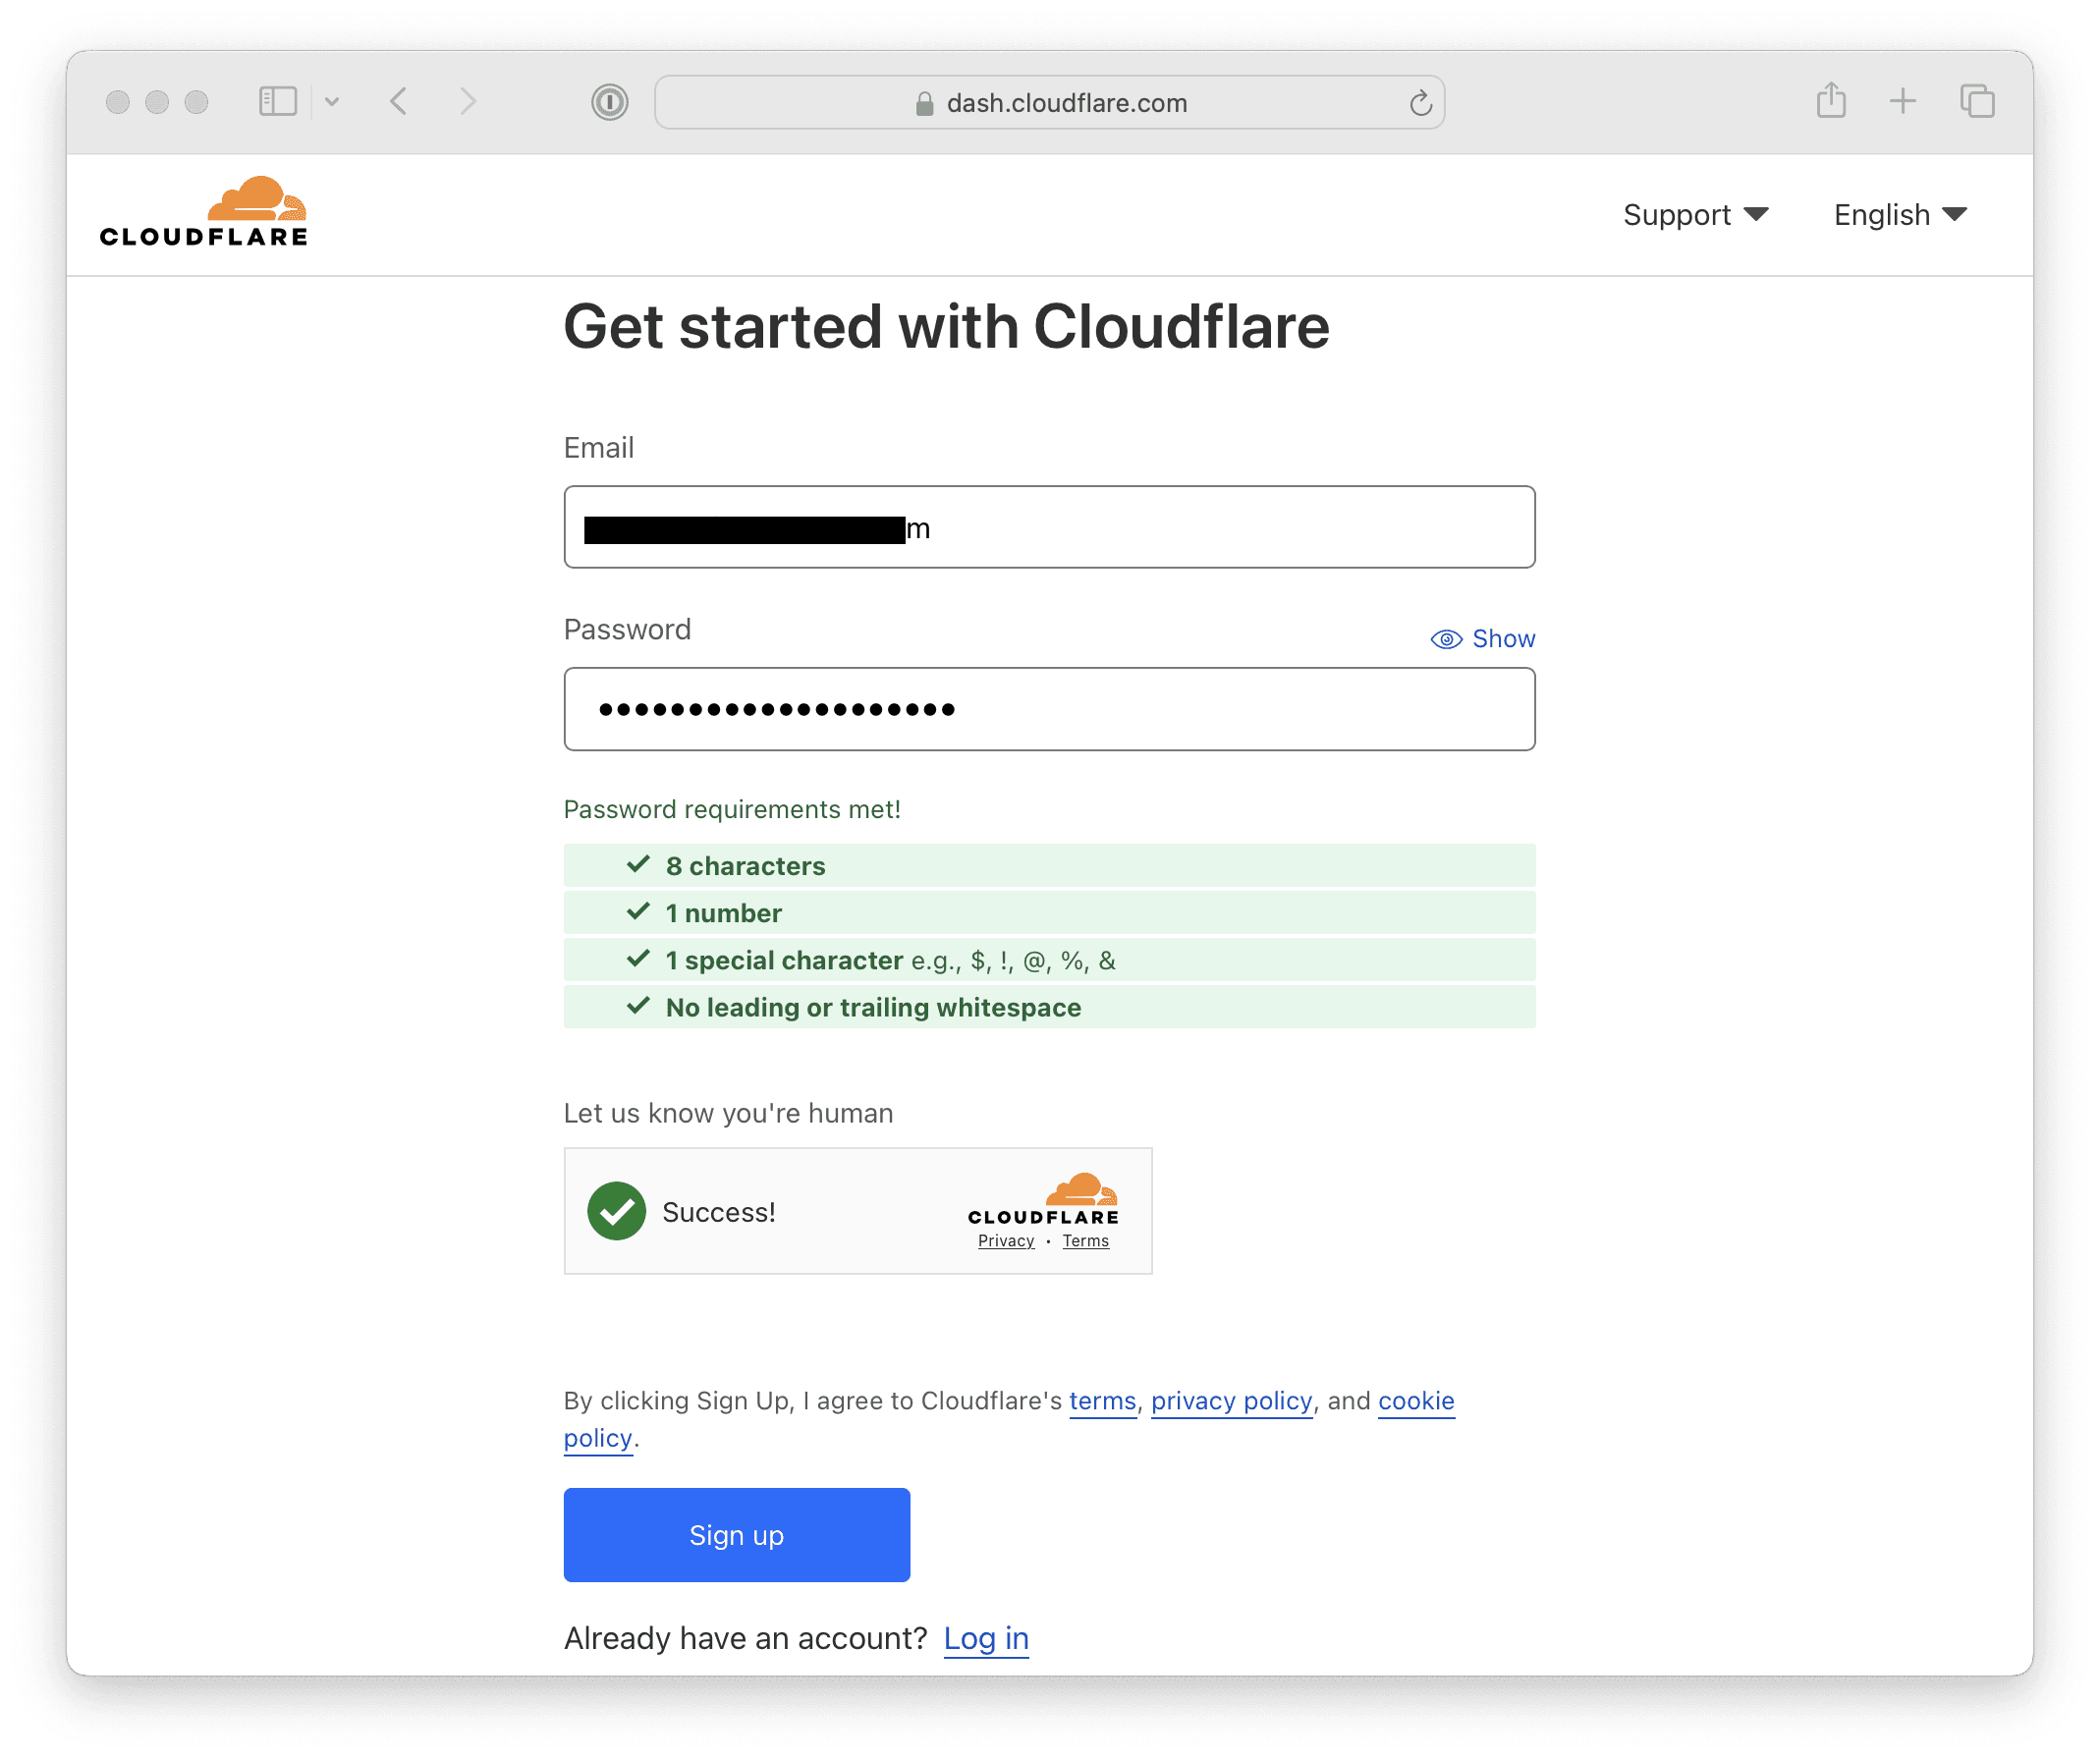
- Log in (or sign up) at Cloudflare Dashboard. You must verify your email before you can start using Cloudflare services.
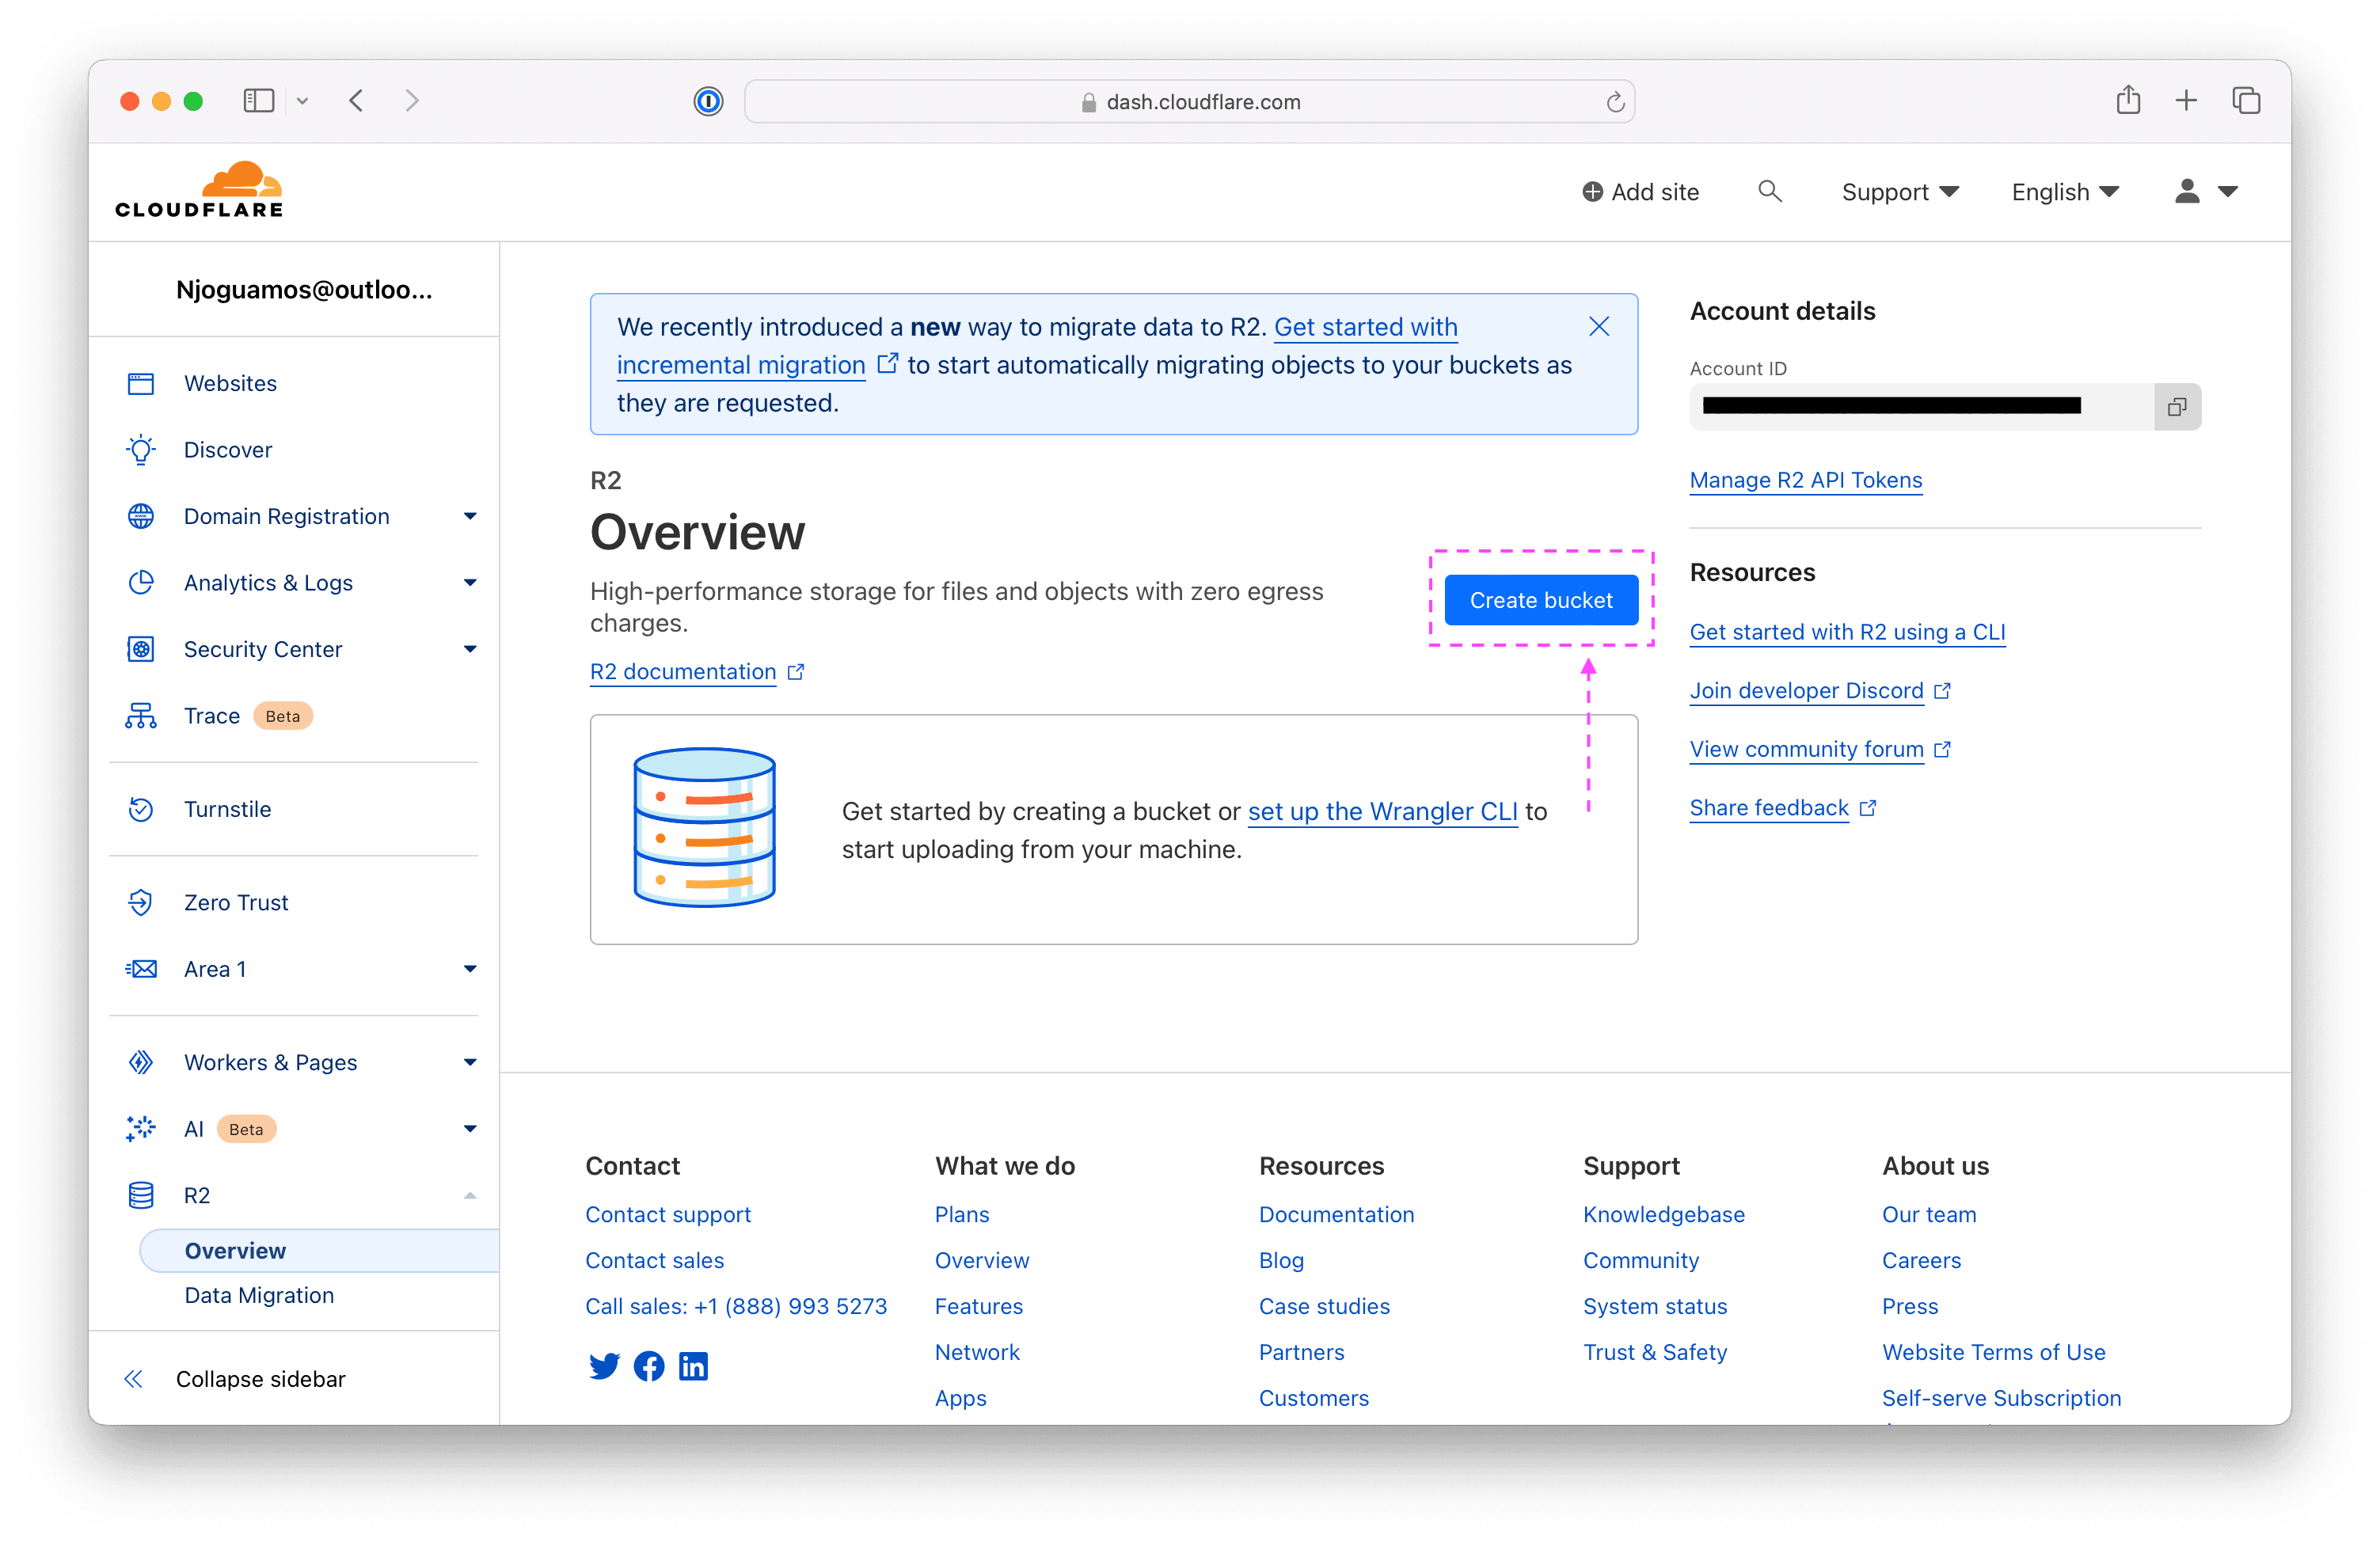
- Select R2 from the left-hand panel and subscribe (this may require billing/credit‐card/PayPal). You will be presented with an R2 subscription form. Fill in the billing details and credit card details, or use PayPal.

- If the subscription is successful, you will be presented with an R2 dashboard. Click Create Bucket, choose a name, region (or default), and create it.
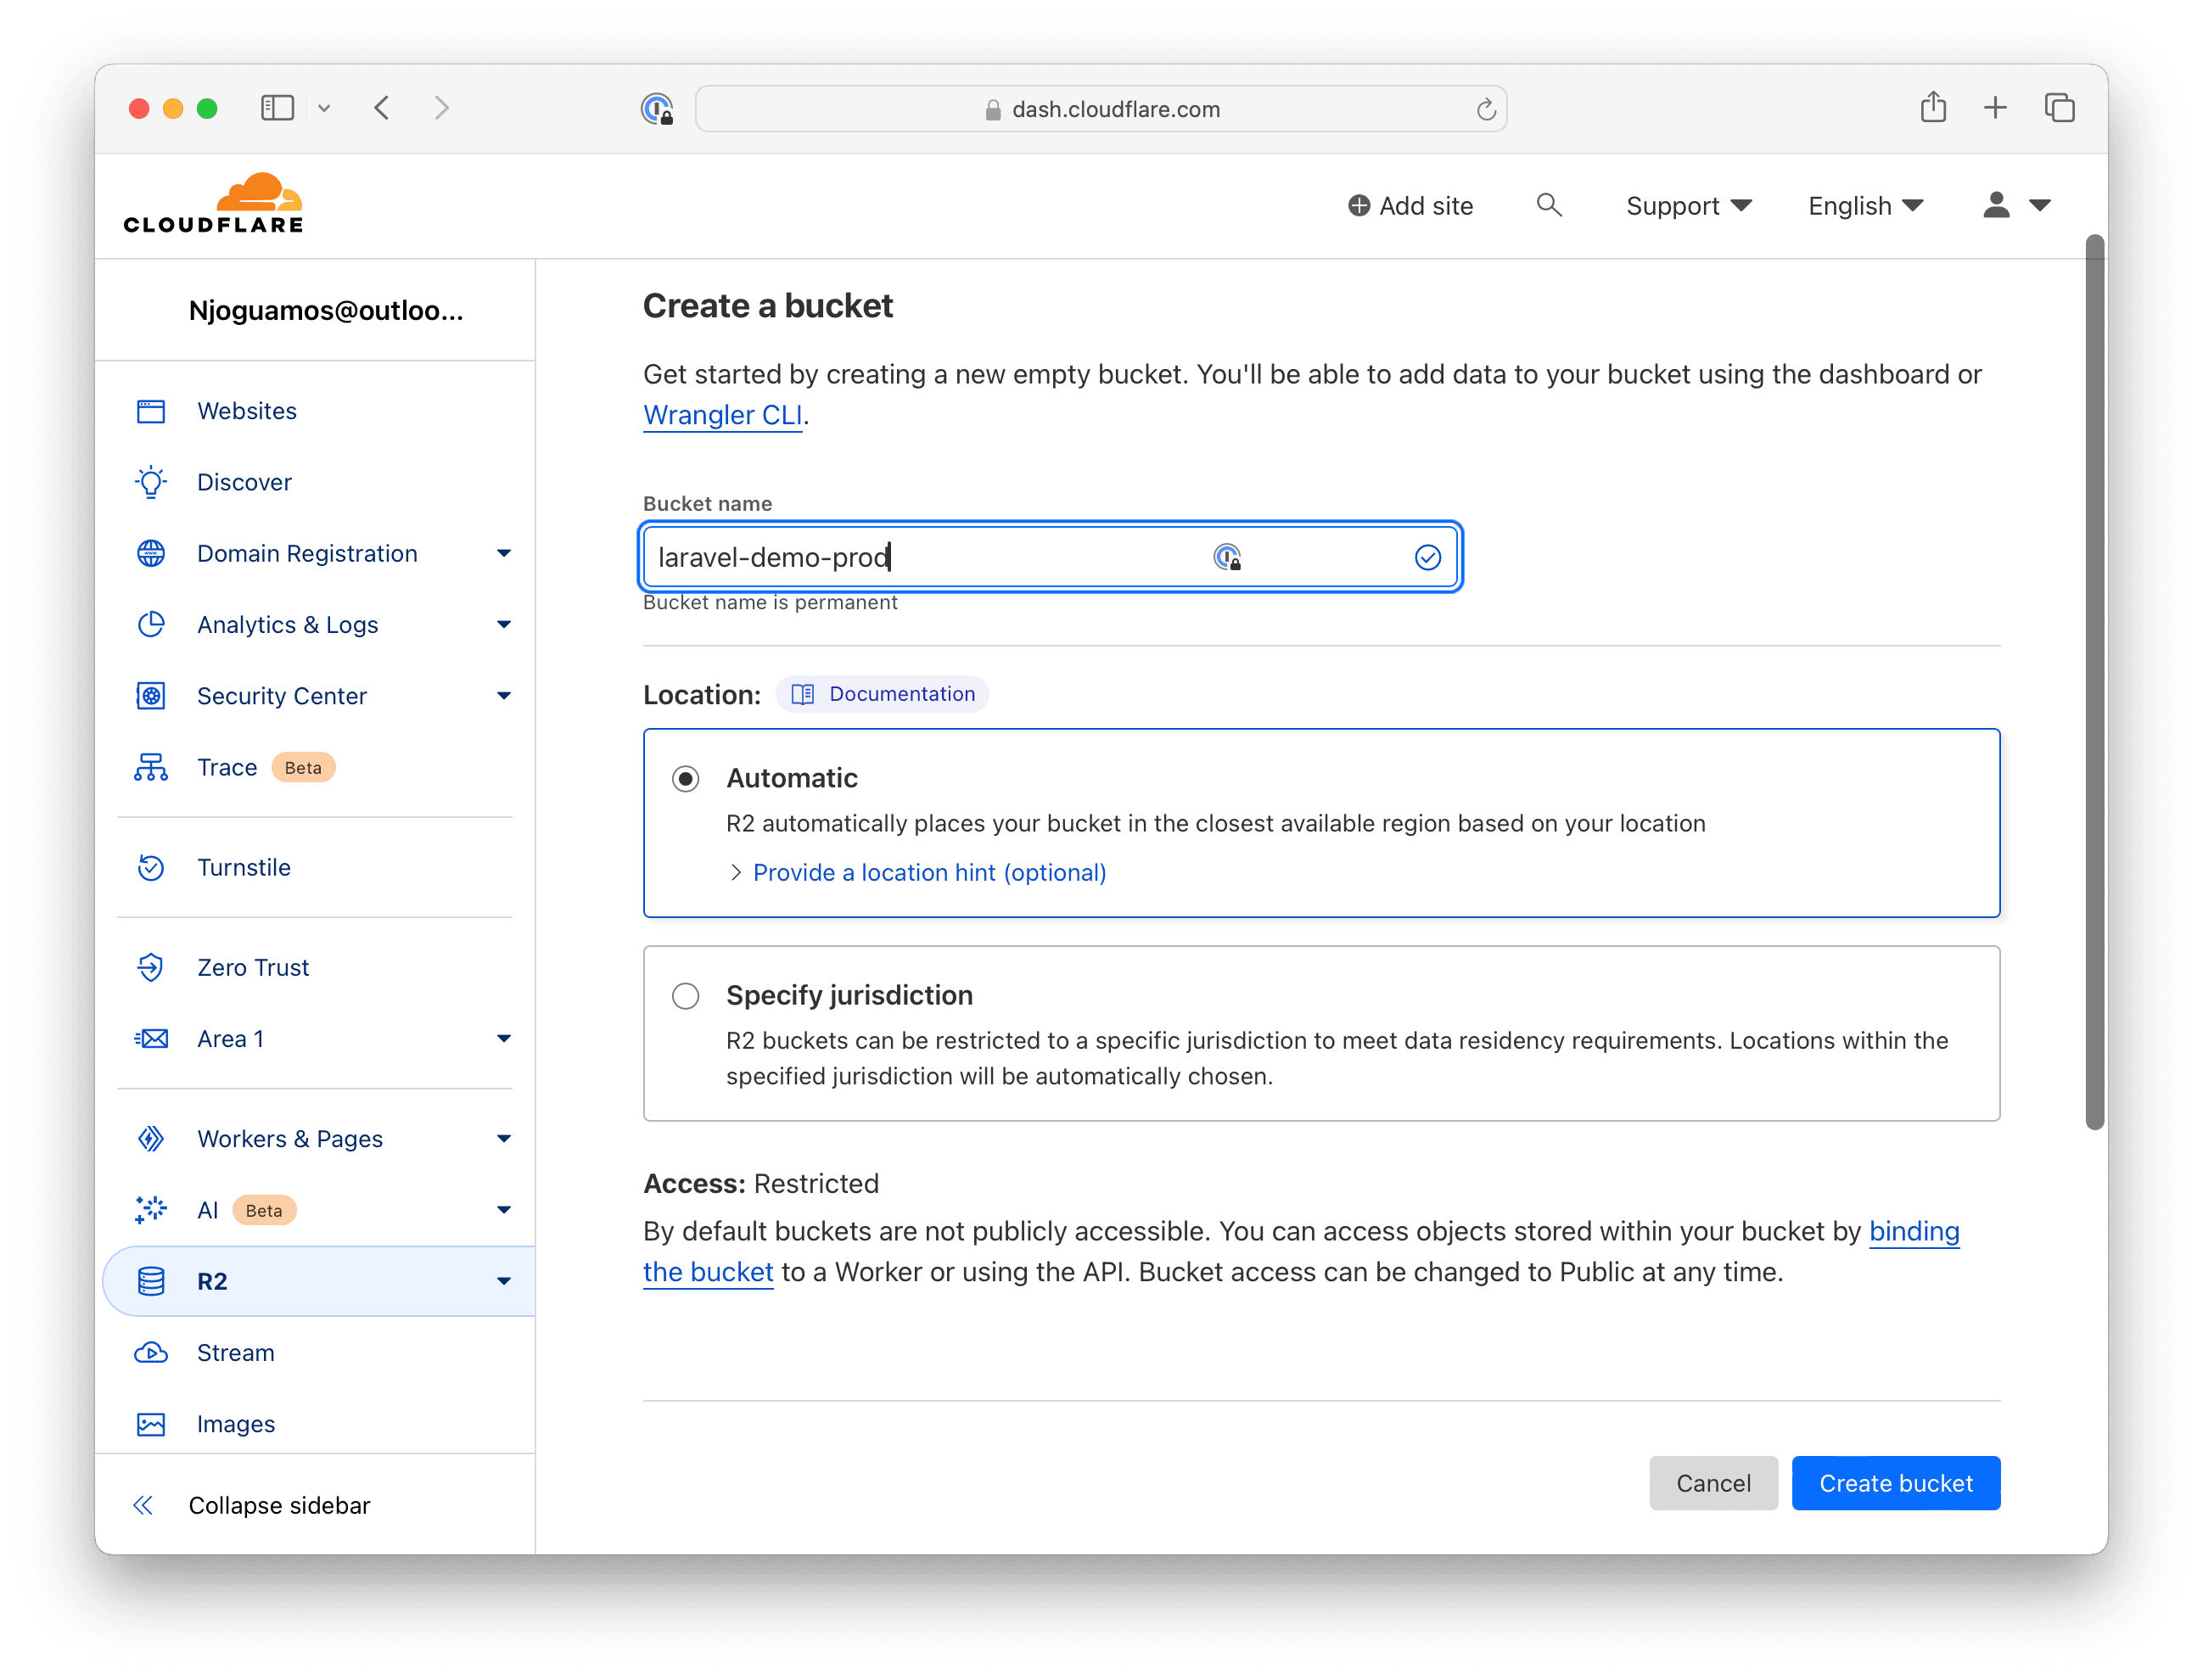
- Provide a bucket name. Use your preferred naming convention. Update or retain the other default options, then click Create Bucket. Note: you now have an empty R2 bucket, ready for use.
Step 2: Generate R2 credentials
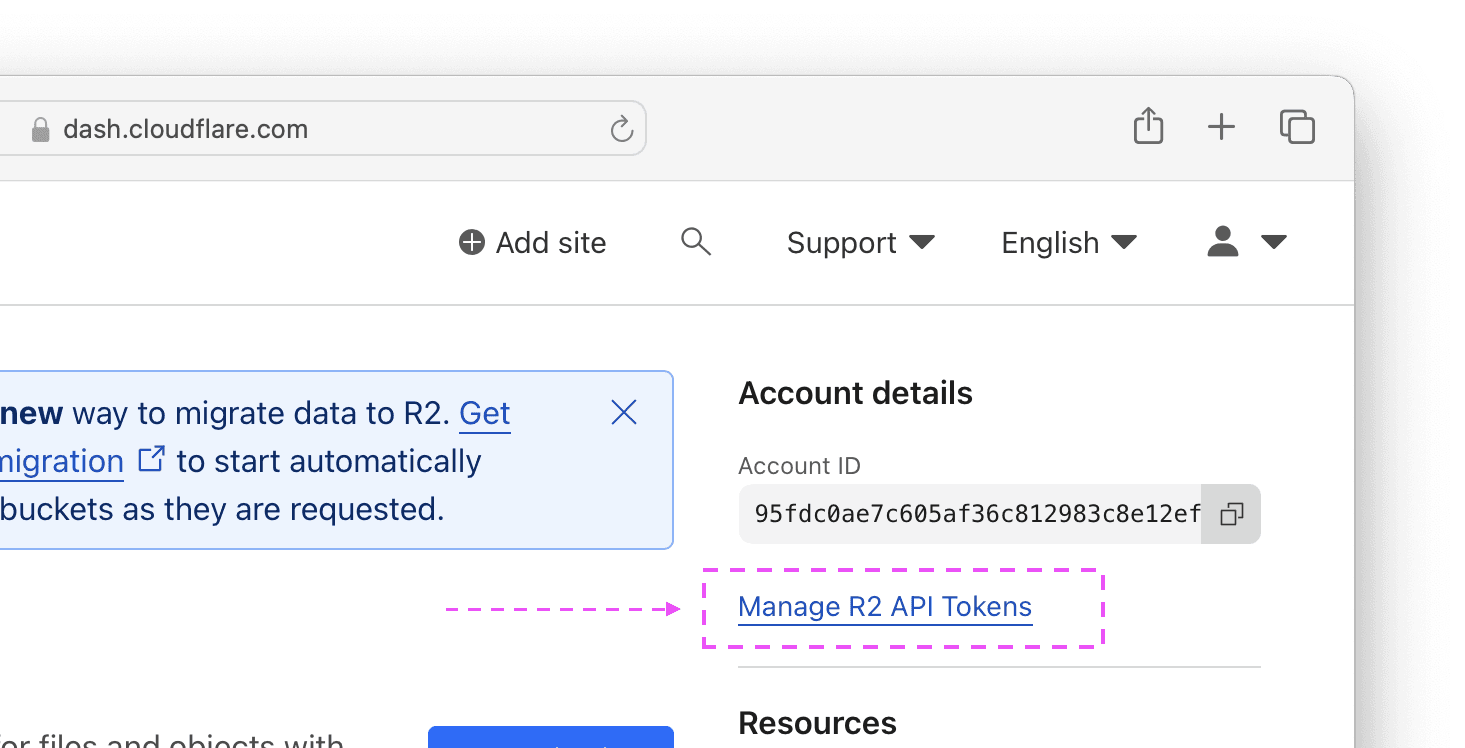
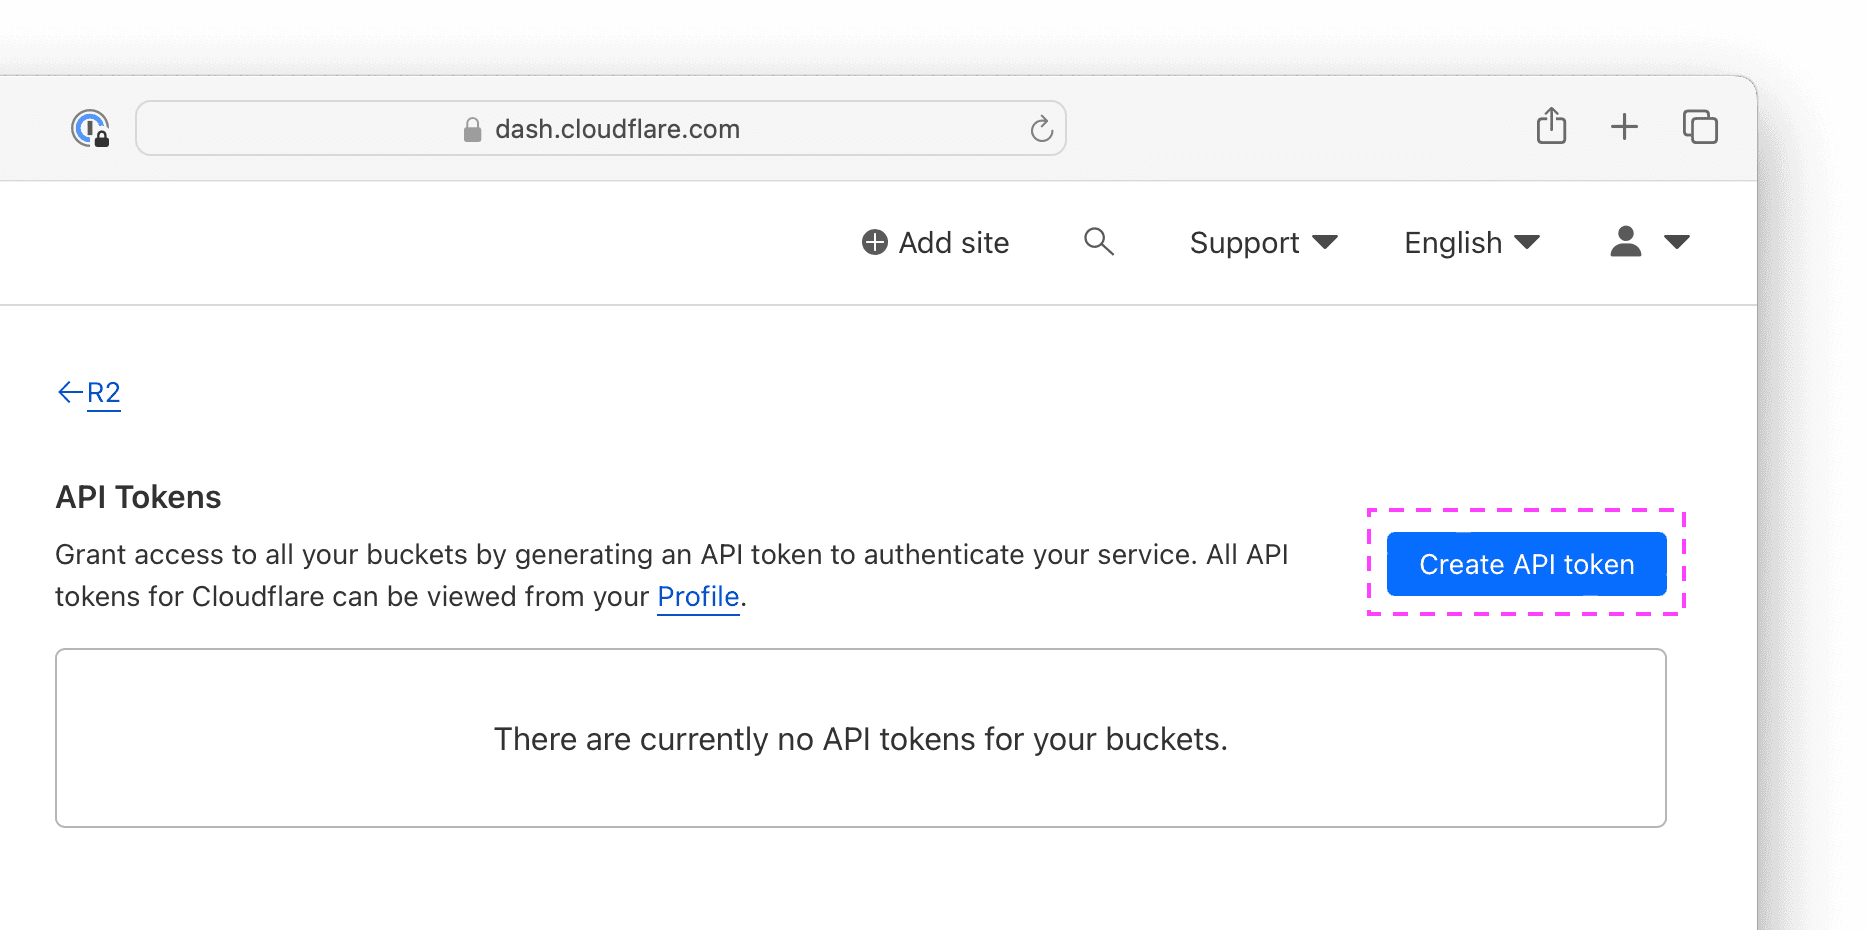
- To manage the bucket contents using Laravel, you must generate credentials for the S3 client. In your R2 dashboard: select Manage R2 API tokens.
- In the next page, select Create API token to proceed with the process.
- Create a new token with Object Read & Write permission, and attach it to your bucket.

- After creation, copy and store the
Access Key IDandSecret Access Keysafely (you won’t see the secret again).
- Also note your R2 endpoint URL (e.g.,
https://abc123.r2.cloudflarestorage.com). - You’ll use these three values in your Laravel project:
R2_ACCESS_KEY_ID,R2_SECRET_ACCESS_KEY,R2_BUCKET,R2_ENDPOINT(and optionallyR2_URLif you want custom public links).
Step 3: Configure Laravel for R2
Open your .env file and add:
R2_ACCESS_KEY_ID=your_access_key_id_here
R2_SECRET_ACCESS_KEY=your_secret_access_key_here
R2_BUCKET=your_bucket_name
R2_ENDPOINT=https://your-endpoint.r2.cloudflarestorage.com
R2_URL=https://your-public-cdn.domain   # optional
FILESYSTEM_DISK=r2
Then edit config/filesystems.php, add a new disk:
// config/filesystems.php

'disks' => [

    // … other disks …

    'r2' => [
        'driver'                  => 's3',
        'key'                     => env('R2_ACCESS_KEY_ID'),
        'secret'                  => env('R2_SECRET_ACCESS_KEY'),
        'region'                  => 'auto',     // Cloudflare uses "auto"
        'bucket'                  => env('R2_BUCKET'),
        'endpoint'                => env('R2_ENDPOINT'),
        'url'                     => env('R2_URL'), // optional
        'use_path_style_endpoint' => env('R2_USE_PATH_STYLE_ENDPOINT', false),
        'throw'                   => false,
    ],

],

'default' => env('FILESYSTEM_DISK', 'local'),
Finally, ensure Flysystem’s AWS S3 driver is installed:
composer require league/flysystem-aws-s3-v3 "^3.0"
Step 4: Test the integration
In your Laravel app:
php artisan tinker
Then inside Tinker:
$file = public_path('favicon.ico');
$result = Storage::disk('r2')->put('favicon.ico', file_get_contents($file));
$result; // should be true
Check the bucket in the Cloudflare R2 dashboard — you should see favicon.ico. You can also verify:
Storage::disk('r2')->allFiles(); // Should include "favicon.ico"
If this succeeds, you’ve integrated Cloudflare R2 with Laravel successfully.
Best practices & optimisation tips
- Directory organisation – group files into folders (avatars/, documents/, logs/, etc.) for better lifecycle rules.
- Versioning & immutability – consider naming uploads with a timestamp or uuid (uploads/2025/11/01/uuid-filename.ext) to avoid name collisions.
- Lifecycle rules – use R2 bucket settings to expire older files you no longer need (e.g., logs older than 90 days).
- Caching / CDN – if these files are to be served publicly, leverage Cloudflare’s CDN and edge caching for latency improvement.
- Use streaming for large files – for large file uploads/downloads, use chunked/streamed operations (Laravel supports stream wrappers).
- Backups – though R2 is durable, consider snapshots or replication if you have mission-critical data.
Security, maintenance & cost control
- Least privilege tokens – give tokens only the permissions they need (read OR write, avoid manage/owner if not required).
- Rotate credentials regularly – treat access keys like passwords.
- Monitor usage – keep an eye on Storage::disk('r2')->getSize() or your usage metrics in the R2 dashboard.
- Egress & CDN – though R2 advertises zero egress, serving globally via Cloudflare edge may incur other costs—review your plan.
- Error handling – check for errors in your application when writing to R2 (Storage::disk('r2')->put() can fail or throw). Implement retries/backoff if needed.
Conclusion
Integrating Cloudflare R2 with your Laravel application gives you a scalable, cost-effective, and S3-compatible object storage solution. With just a few straightforward steps—creating the bucket, generating credentials, configuring Laravel, and testing—you’re ready to start storing files with confidence.
Whether you’re building a media-heavy platform, handling user uploads, or storing backups, R2 plus Laravel is a powerful combo.
❓ Need assistance setting this up? Feel free to leave a comment or reach out – I’d be glad to help you get R2 working in your stack.
Happy coding!